Machine Performance
In the Hybrik service, all machine processing happens in the customer's own cloud account, and the customer pays the cloud provider directly for machine time. Hybrik allows for the selection of different types of machine instances for processing, and so a common question is "which machine should I use?". The answer is… "it depends". Why? Remember that Hybrik can support multiple computing groups that can be configured to run different types of machines. In your particular workflow, you could have two types of jobs: the jobs where only speed matters and you don't care about price, and the jobs where price matters much more than speed. The answer to "which machine" for these two scenarios will be different. This tutorial will give you some insight into how to correctly configure machines for your media workflow.
The first thing to note is that Hybrik supports both on-demand and spot market machines. With spot machines, there can be a savings of 50-75% compared to on-demand pricing. But, there is a chance of losing the spot machine depending on user demand. Hybrik manages this situation by providing automatic failover. Because of the cost savings and the failover protection, most Hybrik users choose to use spot machines for all of their encoding.
The next important factor in choosing machines is to understand that Hybrik uses standard CPU-based machines. There is no benefit to selecting machines with GPU or FPGA capabilities. Also, Hybrik dynamically allocates storage as needed, so there is not need to get instances that have attached storage.
Another factor to consider is that no media processing is perfectly threaded. For example, a 16 core machine may have 95% CPU utilization during an encode, but a 32 core machine may only have 60%. This utilization can vary depending on the input codec, output codec, and intermediate processing steps. Thus a machine that costs twice as much may only give 1.5X in performance increase. This is why it is important to run some of your own tests. We recommend people start their evaluation of Hybrik using a standard machine type like a c4.4xlarge or c5.4xlarge, and then test other configurations to optimize for their particular workflow.
Example Cost/Performance Tests
In the table below, we have compared various common AWS machine types. The test performed was for 1 hour of 1080p source being encoded to a 1080p output H264 at 5Mbps using the medium x264 preset. In the table, we include the following items:
- Machine Type: the name of the AWS instance
- vCPUs: the number of virtual CPUs in the instance
- Transcode Duration: how long it took for the 1 hour file to be transcoed
- RT Factor: how fast was the transcode compared to real time. A RT Factor of 1.0 would mean that transcoding the 1 hour file took 1 hour. A RT Factor of 0.5 would mean that transcoding a 1 hour file took 2 hours. A RT Factor of 2.0 would mean that transcoding a 1 hour file took 30 minutes.
- On-Demand ($/hr): cost per hour of compute for an on-demand machine
- Spot ($/hr): cost per hour of compute for a spot machine
- On-Demand Cost: what was the absolute cost to transcode an hour of source with an on-demand machine
- Spot Cost: what was the absolute cost to transcode an hour of source with a spot machine
| Machine Type | vCPUs | On-Demand ($/hr) | Spot ($/hr) | Transcode (sec) | RT Factor | On-Demand Cost | Spot Cost |
|---|---|---|---|---|---|---|---|
| c4.4xlarge | 16 | $0.796 | $0.27 | 1864 | 1.9 | $0.41 | $0.14 |
| c4.8xlarge | 36 | $1.59 | $0.48 | 1186 | 3.0 | $0.53 | $0.16 |
| c5.4xlarge | 16 | $0.68 | $0.19 | 1881 | 1.9 | $0.36 | $0.10 |
| c5.9xlarge | 36 | $1.53 | $0.56 | 1088 | 3.3 | $0.46 | $0.17 |
| c5a.4xlarge | 16 | $0.62 | $0.27 | 1599 | 2.3 | $0.27 | $0.12 |
| c5a.8xlarge | 32 | $1.23 | $0.47 | 1093 | 3.3 | $0.38 | $0.14 |
| c6i.4xlarge | 16 | $0.68 | $0.23 | 1530 | 2.4 | $0.29 | $0.10 |
| c6i.8xlarge | 32 | $1.36 | $0.44 | 952 | 3.8 | $0.36 | $0.12 |
| c5n.4xlarge | 16 | $0.86 | $0.41 | 1796 | 1.9 | $0.41 | $0.14 |
| c5n.9xlarge | 36 | $1.94 | $0.67 | 1088 | 3.3 | $0.59 | $0.20 |
If we had run this scenario and wanted the fastest transcoding, we would choose the c5.9xlarge. But, if we had wanted the lowest cost, we would have chosen the c5.4xlarge.
Machine Availability
One final consideration when choosing machine types is the availability of machines. If you are getting an on-demand machine, then this is not really a concern. But if you are getting a spot machine, then the frequency of the spot take-away could be a problem. The newest, fastest instance type is often the one with the highest takeaway frequency, because more people are chasing higher performance with fewer total instances available due to the newness. The most cost-effective solution is often the previous generation or two, where there are high numbers of machines available. Note that this shifts over time. So what is ideal today may be sub-optimum two years from now. You should revisit your machine configurations every year to make sure you are still achieving your goals. You can use the AWS Instance Advisor to help you determine what the frequency of interruption is for a particular instance type.
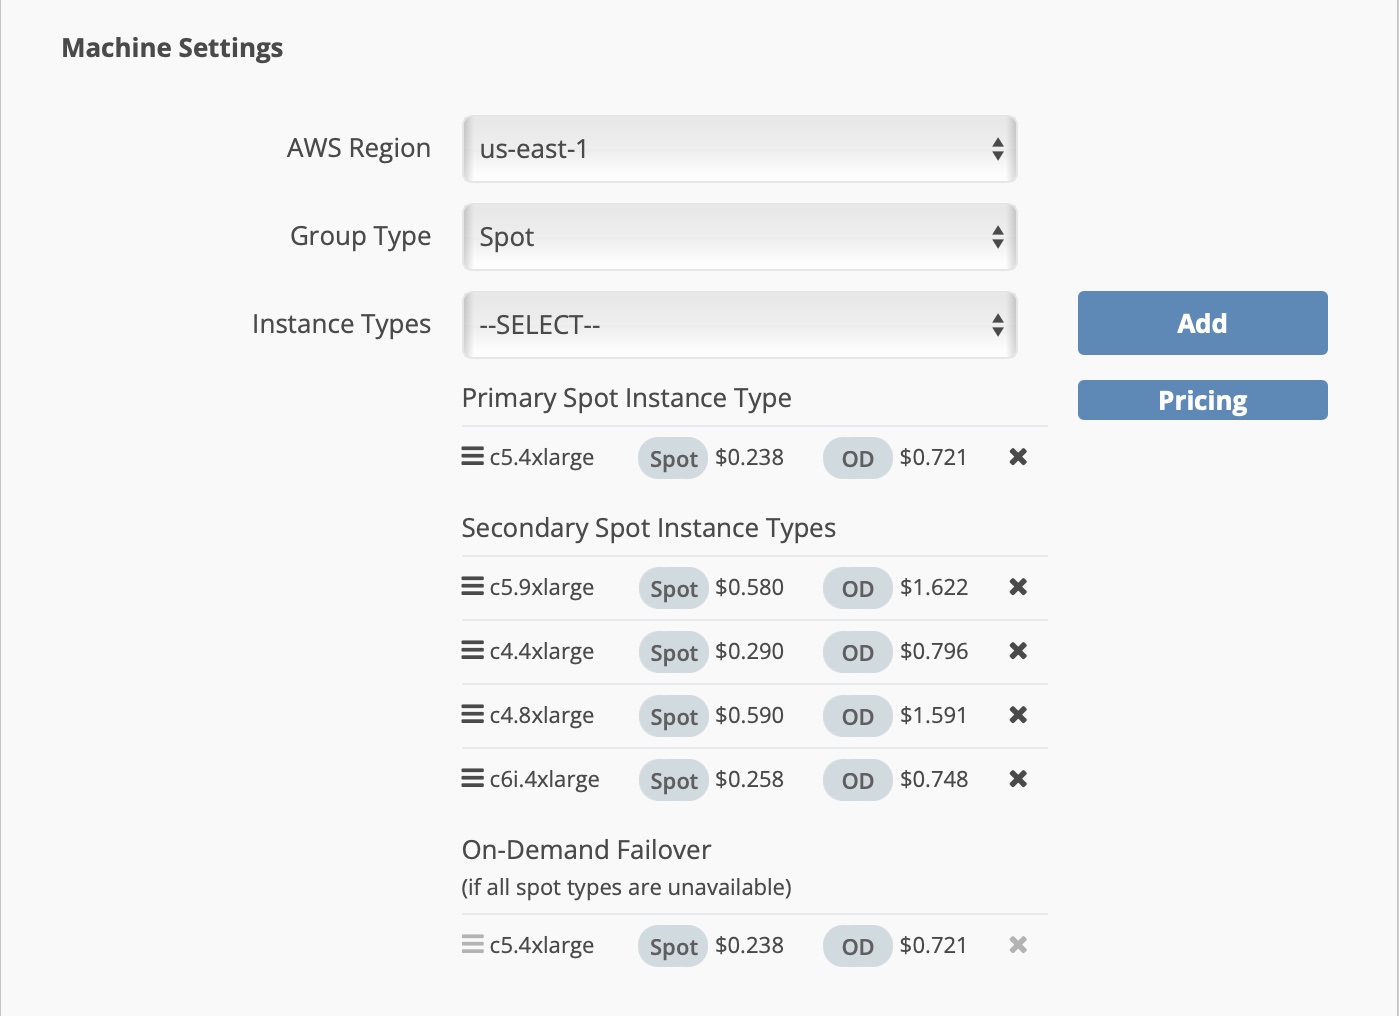
When using spot instances, we highly recommend adding multiple secondary spot instance types to your computing group configuration; if we detect that the primary instance type is unavailable, Hybrik will request instances from the list of secondary instance types. If none of the instance types selected can be launched and your computing group is set to "On-Demand Failover", then Hybrik will automatically switch to on-demand machines. If "On-Demand Failover" is not set, then Hybrik will not be able to launch machines until the spot market is available.

Running Your Own Performance Test
Should you want to run your own performance test, with your type of sources and with your list of preferred instance types, below is our process for setting up and executing such a test. Please make sure you’ve reviewed the Computing Groups section in the Getting Started tutorial; you should also review the Tagging Tutorial for information on how tags work in conjunction with computing groups as we make use of the tagging mechanism for these tests.
Hybrik Machine Configuration
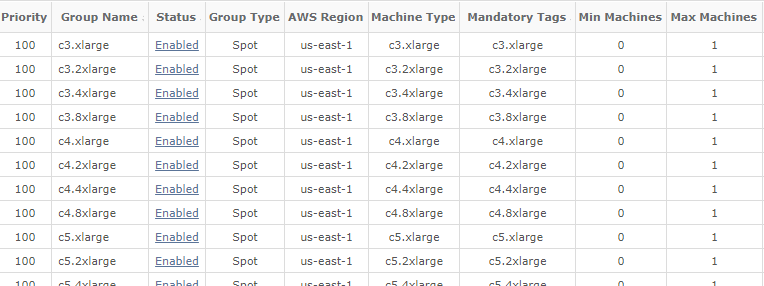
- Configure a set of Hybrik Computing Groups, calling out each instance type, one per machine configuration
Setting Value Computing Group Name Instance type it will launch, for example c5.4xlargeInstance Type Select to match the computing group name, c5.4xlargeAWS Region Whichever region you use most Group Type Spot Minimum Instances 0 Maximum Instances 1 on-demand failover Check the box Max Idle Time 1 Mandatory Tags Set to match the computing group name, c5.4xlargeProvided Tags Leave empty - Save this machine configuration, and repeat (clone) the above steps for each of the instance types you want to test with. You should end up with a list of computing groups something like this (make sure that each row has the exact same value in the Group Name, Machine Type, and Mandatory Tags column)

{
  "definitions": {
    "profile_name": "c4.4xlarge",
    "source": "s3://hybrik-test-assets/Long Form Master.mp4",
    "destination": "s3://hybrik-temporary/1day/performance/Version_{hybrik_version}"
  },
  "name": "1 Hr Source - {{profile_name}}",
  "task_tags": [
    "{{profile_name}}"
  ],
  "payload": {
    "elements": [
      {
        "uid": "source_file",
        "kind": "source",
        "payload": {
          "kind": "asset_url",
          "payload": {
            "storage_provider": "s3",
            "url": "{{source}}"
          }
        }
      },
      {
        "uid": "transcode_task",
        "kind": "transcode",
        "payload": {
          "targets": [
            {
              "file_pattern": "{{profile_name}}{default_extension}",
              "container": {
                "kind": "mp4"
              },
              "video": {
                "width": 1920,
                "height": 1080,
                "bitrate_mode": "vbr",
                "bitrate_kb": 5000,
                "max_bitrate_kb": 5750,
                "vbv_buffer_size_kb": 5750,
                "frame_rate": 25,
                "codec": "h264",
                "profile": "high",
                "level": "4.0",
                "preset": "medium"
              },
              "audio": [
                {
                  "codec": "aac",
                  "channels": 2,
                  "sample_rate": 48000,
                  "sample_size": 16,
                  "bitrate_kb": 128,
                  "bitrate_mode": "vbr"
                }
              ],
              "existing_files": "replace"
            }
          ],
          "location": {
            "storage_provider": "s3",
            "path": "{{destination}}"
          }
        }
      }
    ],
    "connections": [
      {
        "from": [
          {
            "element": "source_file"
          }
        ],
        "to": {
          "success": [
            {
              "element": "transcode_task"
            }
          ]
        }
      }
    ]
  },
  "priority": "100"
}
Collating and Comparing Results
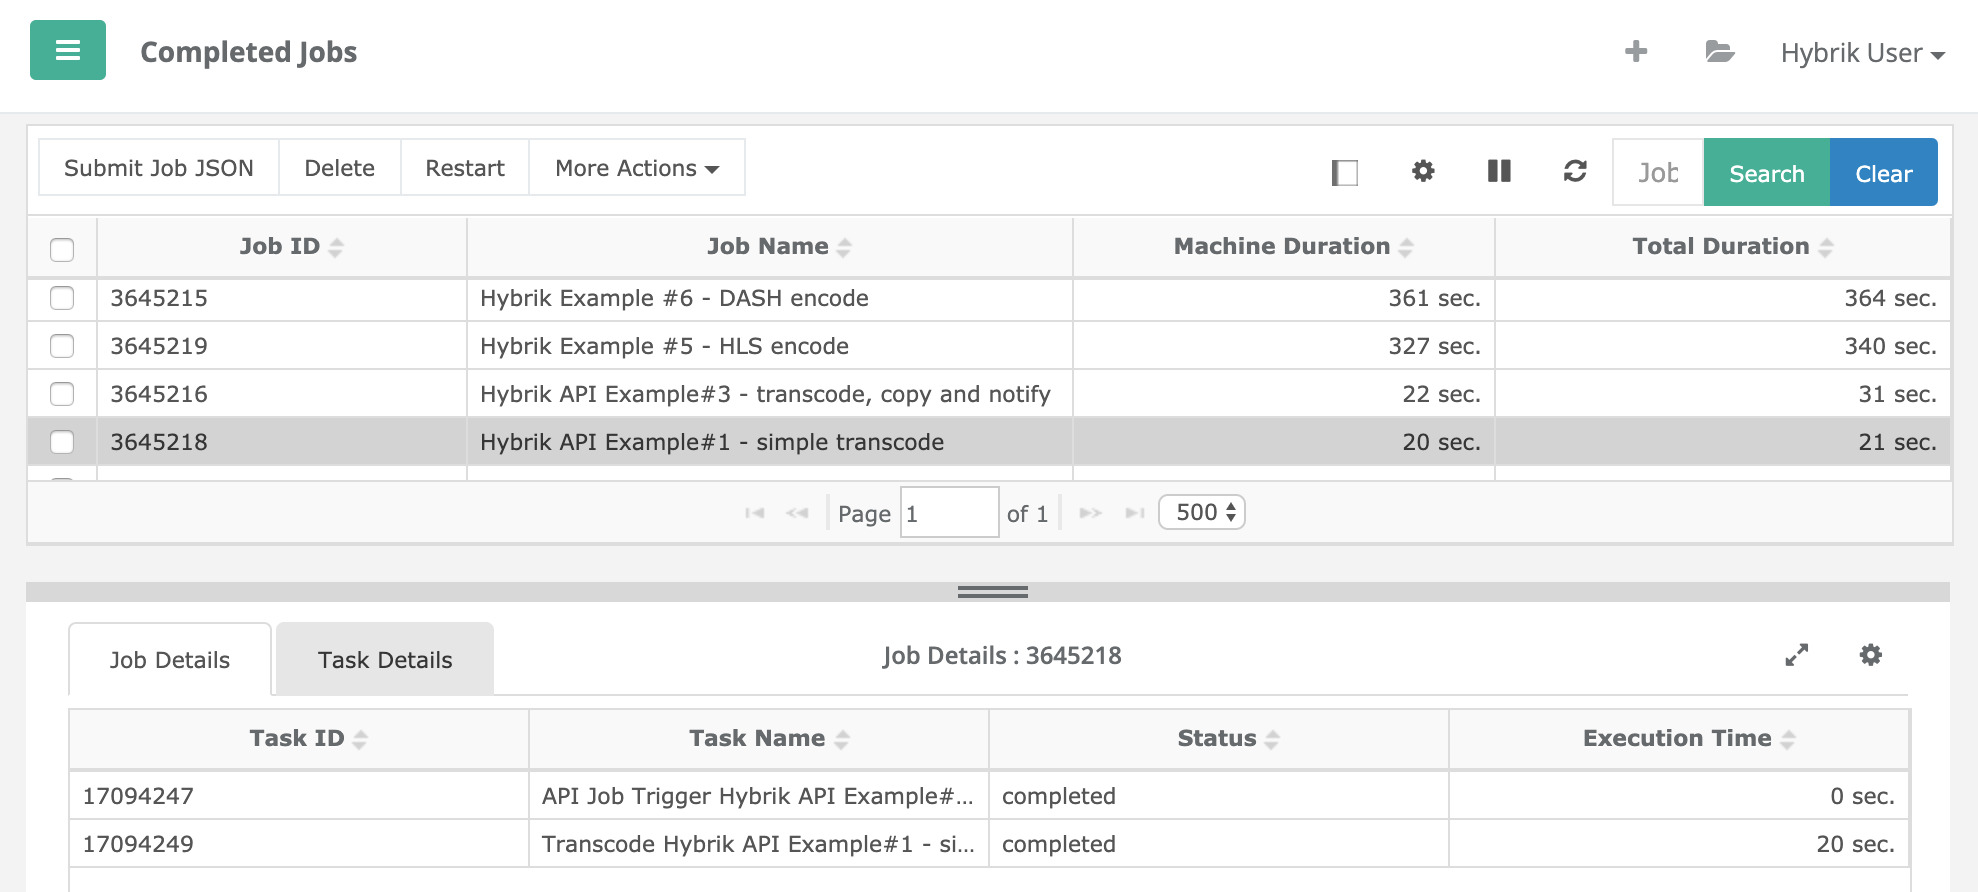
When each job is finished, you can view the transcode duration in the Jobs > Completed Jobs menu in the Hybrik web UI, in the Machine Duration column. The number there, for example 9,616 sec, is within a second or two of the total transcode time (this number also contains a very small API call overhead, which can be ignored for the purpose of our comparison).
Here is an example of what the duration results look like in the web interface.
- Machine Duration
- Actual computer time (what AWS bills you for)
- Total Duration
- Wall clock time for the job
